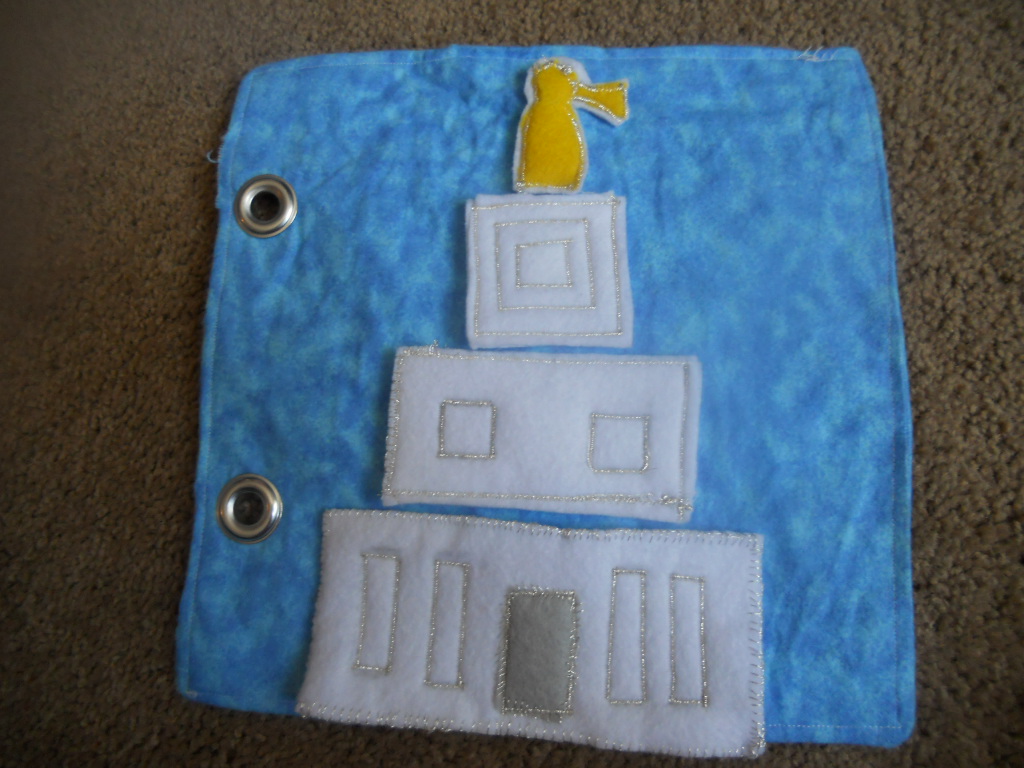
This page was sooo easy! I cut felt blocks double thickness to resemble temple blocks. Lined with interfacing, I then 'drew' lines, doors and windows with silver metallic thread with the small zig-zag setting on my sewing machine. Moroni has two layers of white and two yellow. I made him extra tough to withstand the little finger trauma. I put sticky velcro on the back of each piece and on the corresponding place on my background page. Bryn loves it!
Bryn loves to play peek-a-boo at church too. I made her this family tree so she can play it quietly.
Pretty simple. Cut out trunk and tree. Cut out flaps for pictures. Hot glue two pieces of vinyl onto back of tree to make a window pocket for pictures. Insert pictures and decorate tree as desired. This one was a sewing machine rebellion. Not a stitch (well, besides the background page). Love the glue.
I finally started a Quiet Book for Bryn to take to church. She loves books, and is starting to be noisy so...I know she's only ten months, but she needs a quiet book. The first page was so fun! It' an I-Spy bag, made into a page.
To make the page you'll need:
Sew the bias tape around the edge of the vinyl, raw edges to the outside, to make a frame. Use long stitches on vinyl (less perforation for the vinyl to tear). Use interfacing to 'stick' the wrong sides together of the inside panel and back panel. Sew window to back panel with outer pieces facing. Leave enough space for turning inside out. Turn, fill, and sew closed your page. I added eyelets/grommets for my book binding. You could also use a button hole. I also added a pocket on the back to hold lists of things to find. If adding a pocket, do so before interfacing to inside panel.
This blanket is so cozy and simple to make. You just need a few coordinating fabrics (I used one yard of each).
Sew diagonal lines 3/4"-1" apart.
Cut the top layers between the stitching, wash
And then you'll have a soft and snugly blanket for your little wiggle worm! I followed this tutorial by Dana. This was an excellent idea, and I don't want to take the credit so thank you Dana for your great ideas!
Someone is getting some berries for birthday! Of course I can't tell you who... that would ruin the surprise! The pattern for these berries is from Jeanette Lim's, Felt Universe.
I made the binding! I made it the old-fashioned way, ironing each fold by hand. The end result is totally worth it, and I feel fulfilled. Here is an awesome tutorial for making your own binding.


