Friday, April 29, 2011

'Cute as a Bug' Baby Shower

 I was privileged to help with the food for a super cute baby shower.  The theme was 'Cute as a Bug' so I tried to find foods that would look like cute little creatures.  This first idea was supposed be snails, but I never got the faces and antennas on.  I still think they look pretty cute with grass though.  

To make these snails:
Mix 1 pkg cream cheese with 1/3c. chopped red peppers, a sprinkle of garlic, oregano, and a spoonful of your fav salsa for some added zing.  Spread mixture onto a flour tortilla, top with deli sliced turkey and roll up. 

*Stick with toothpicks before cutting.  Yup, that will help lots.*
 Second dish was the tide and true 'ants on a log.'  I spread my previous mixture of cream cheese onto celery sticks.  I spread peanut butter on others and spaced raisins along the 'log.' 
 This is a layered yogurt parfait, with added worms coming up from the 'dirt.'


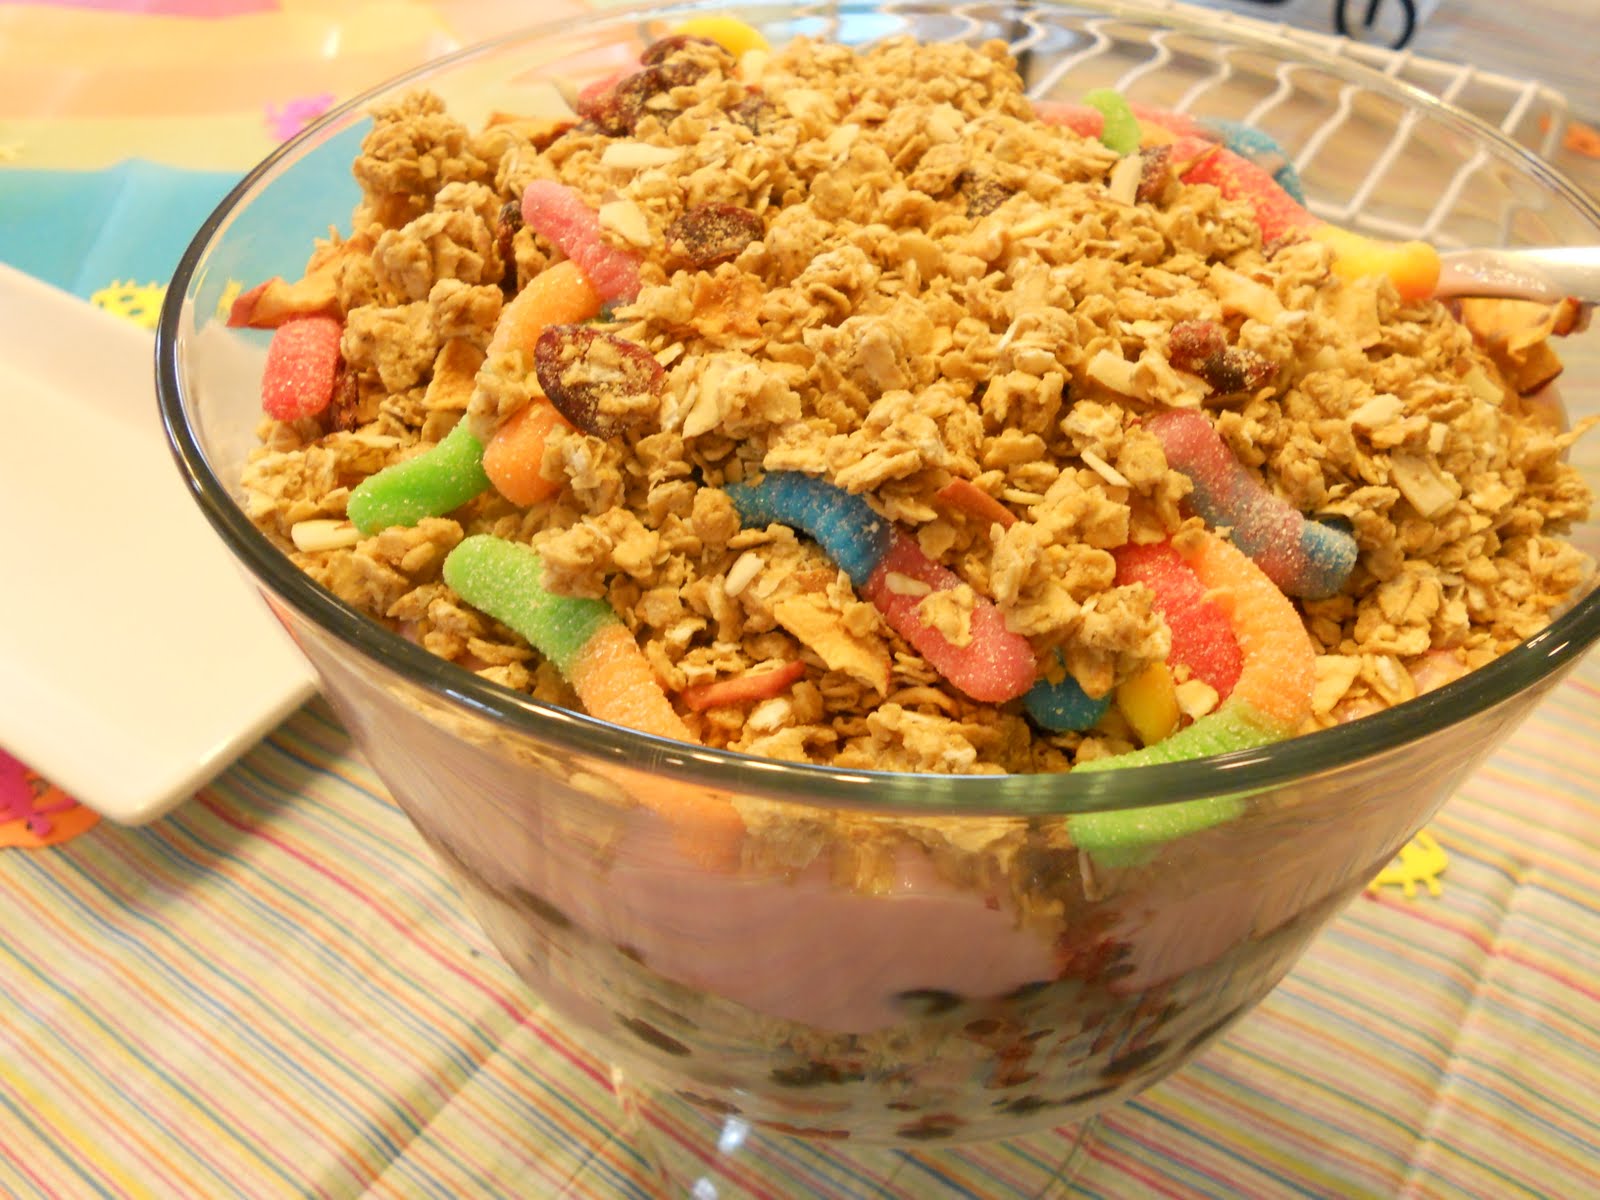
Layer granola, berries, yogurt and worms in this order, twice.
My favorite treats were the cake pops.  Usually the accents for the pops are made of candy and sprinkles, but I drew mine with chocolate.  I put chocolate chips into a Ziploc bag, and microwaved in increments of 30 seconds until melted.  Cut one corner of the bag and start doodling.  

To make the wings, doodle your chocolate onto wax or freezer paper.  Let harden in refrigerator before using.
Lastly, I made bug jars from upcycled baby food jars.  Decorated with baby's name and shower theme, then filled with candy bugs.  We also had melon balls served from the watermelon and chicken salad croissants. 

Chicken Salad:
Shredded chicken
quartered grapes
salad dressing
toastes slivered almonds
chopped celery

Everything turned out great, and I'm thinking this new baby is going to love coming into this awesome partying family.

Have fun with your Cute as a Bug party!!

Thursday, April 28, 2011

Wood Baby Blocks

 1. Obtain a 2X2 board from your local supply store, wood shop or husbands garbage pile (my fav).  Convince super amazing hubby to cut board into square cubes, unless you are a SUPER WOMAN!! and not afraid of the saw, and cut them yourself. Sand off all rough edges.  I use a palm sander for this step.
 Pain or stain block background color and let completely dry.
 Stick alphabet stickers, shapes, pictures, designs and 1X1 scrapbook paper on the block to cover each side.  My favorite sides of the blocks turned out to be the quotes I cut from border stickers.  Apply 2-3 coats of sealer (I used Mod Podge) over each side and let dry. 
This set of blocks is going to a very special baby & mom to be this weekend but my baby has a set of her own and LOVES to knock down the towers I build her.  I love knowing that someday she'll learn her alphabet and spell things to me.  I also love that this toy doesn't need batteries, and she likes it more than the toys that do!

To complete this project I used:
30 wooden blocks, free-$2.00
paint, $1.99
stickers and paper, $4.00
Mod Podge, $3.99

The only item I had to buy for this project was the paper and stickers.  I had everything else in my stash, and I'm betting most of you do too.  I'm also betting if there is a contractor building in your area, they would let you have some scrap wood, for a plate of homemade cookies they might even cut it for you!  This is a pretty inexpensive project, totally adorable, handmade, personalized and easy.  I'll let you know what everyone thinks about them tomorrow!

Tuesday, April 26, 2011

Faux Chenille Blanket

 This blanket is so cozy and simple to make.  You just need a few coordinating fabrics (I used one yard of each).
 Sew diagonal lines 3/4"-1" apart.
 Cut the top layers between the stitching, wash
And then you'll have a soft and snugly blanket for your little wiggle worm!  I followed this tutorial by Dana.  This was an excellent idea, and I don't want to take the credit so thank you Dana for your great ideas!  

Monday, April 25, 2011

This dessert was so much fun to make, and amazing to eat.  The flavors are so complex and different, and exciting, and yummy!  I adapted mine with berries, didn't regret a thing!
Someone is getting some berries for birthday!  Of course I can't tell you who... that would ruin the surprise!  The pattern for these berries is from Jeanette Lim's, Felt Universe.
I made the binding! I made it the old-fashioned way, ironing each fold by hand.  The end result is totally worth it, and I feel fulfilled.  Here is an awesome tutorial for making your own binding.